Hello there!
As a Christmas Eve present, I have a special layout tutorial just for you! (And in case your home isn't occupied by a certain Santa Paws this season, you can adjust the layout title as needed.)

I used Graphic 45's charming Raining Cats and Dogs paper line, along with a page from the new Time To Flourish! The pup in the photo is my cheeky Parson Russell Terrier, Archie. He's SO cheeky, he's making me hand-feed him while I upload these photos. Attention-grabber? Of course not. ;)


Graphic 45 Raining Cats & Dogs 12" x 12" Paper Pad
Graphic 45 Raining Cats & Dogs Alphabet Stickers
Graphic 45 Time To Flourish December Flourish
Graphic 45 Ornate Metal Key
Petaloo Mulberry Flowers - Green
Gina's Designs - Chipboard Snowflakes
Gold Stickles
Martha Stewart Clear Glitter
Half a doily and a sequin!
Step 1. Fussy cut some flowers from Cats Meow page. Add glitter to the white flowers.

Step 2. Fussy cut some poinsettias from December Flourish page. Apply gold Stickles to edges of the flowers.

Step 3. Apply gold paint to chipboard snowflakes. Add gold Stickles when dry.

Step 4. Cut out 4" x 6" woman and collie image and 4" x 3" "All You Need is Love and a Dog" image from Well Bred paper.

Step 5. Cut (2) black strips from Playful Pals.

Step 6. Take Mr. Whiskers paper and place blue plaid side face up.

Step 7. Trim Mischievous Menagerie paper to 11" x 11". Place tan side up.

Step 8. Trim Precious Pets to 7" x 9". Place red side up.

Step 9. Layer paper per photo.

Step 10. Add Playful Pals strips and Well Bred image.

Step 11. Attach a 5" x 7" photo with foam dots. Then, arrange all pieces per photo and adhere using a combination of foam dots and glue.
Thank you so much for following my blog this past year! I hope you all have a blessed Christmas and a wonderful New Year's. Be sure to follow along for more inspiration in 2015 as I create Project Life layouts using Graphic 45's Time To Flourish calendar line! It's going to be a BEAUTIFUL year.
Many hugs and love,
Maria (and Archie, too)
As a Christmas Eve present, I have a special layout tutorial just for you! (And in case your home isn't occupied by a certain Santa Paws this season, you can adjust the layout title as needed.)
I used Graphic 45's charming Raining Cats and Dogs paper line, along with a page from the new Time To Flourish! The pup in the photo is my cheeky Parson Russell Terrier, Archie. He's SO cheeky, he's making me hand-feed him while I upload these photos. Attention-grabber? Of course not. ;)
I used lots of glitter in this layout. I think it's a must when you're doing anything holiday-related! My chipboard snowflakes are from Gina's Designs; some leftover swag from my Graphic 45 DT days. I painted them gold and added gold glitter to touch.
I LOVE these flowers. I dumped a bunch of Martha Steward glitter on top for a snowy feel.
Ready? Let's go!
Supplies
Graphic 45 Raining Cats & Dogs 12" x 12" Paper Pad
Graphic 45 Raining Cats & Dogs Alphabet Stickers
Graphic 45 Time To Flourish December Flourish
Graphic 45 Ornate Metal Key
Petaloo Mulberry Flowers - Green
Gina's Designs - Chipboard Snowflakes
Gold Stickles
Martha Stewart Clear Glitter
Half a doily and a sequin!
Instructions
Step 1. Fussy cut some flowers from Cats Meow page. Add glitter to the white flowers.
Step 2. Fussy cut some poinsettias from December Flourish page. Apply gold Stickles to edges of the flowers.
Step 3. Apply gold paint to chipboard snowflakes. Add gold Stickles when dry.
Step 4. Cut out 4" x 6" woman and collie image and 4" x 3" "All You Need is Love and a Dog" image from Well Bred paper.
Step 5. Cut (2) black strips from Playful Pals.
Step 6. Take Mr. Whiskers paper and place blue plaid side face up.
Step 7. Trim Mischievous Menagerie paper to 11" x 11". Place tan side up.
Step 8. Trim Precious Pets to 7" x 9". Place red side up.
Step 9. Layer paper per photo.
Step 10. Add Playful Pals strips and Well Bred image.
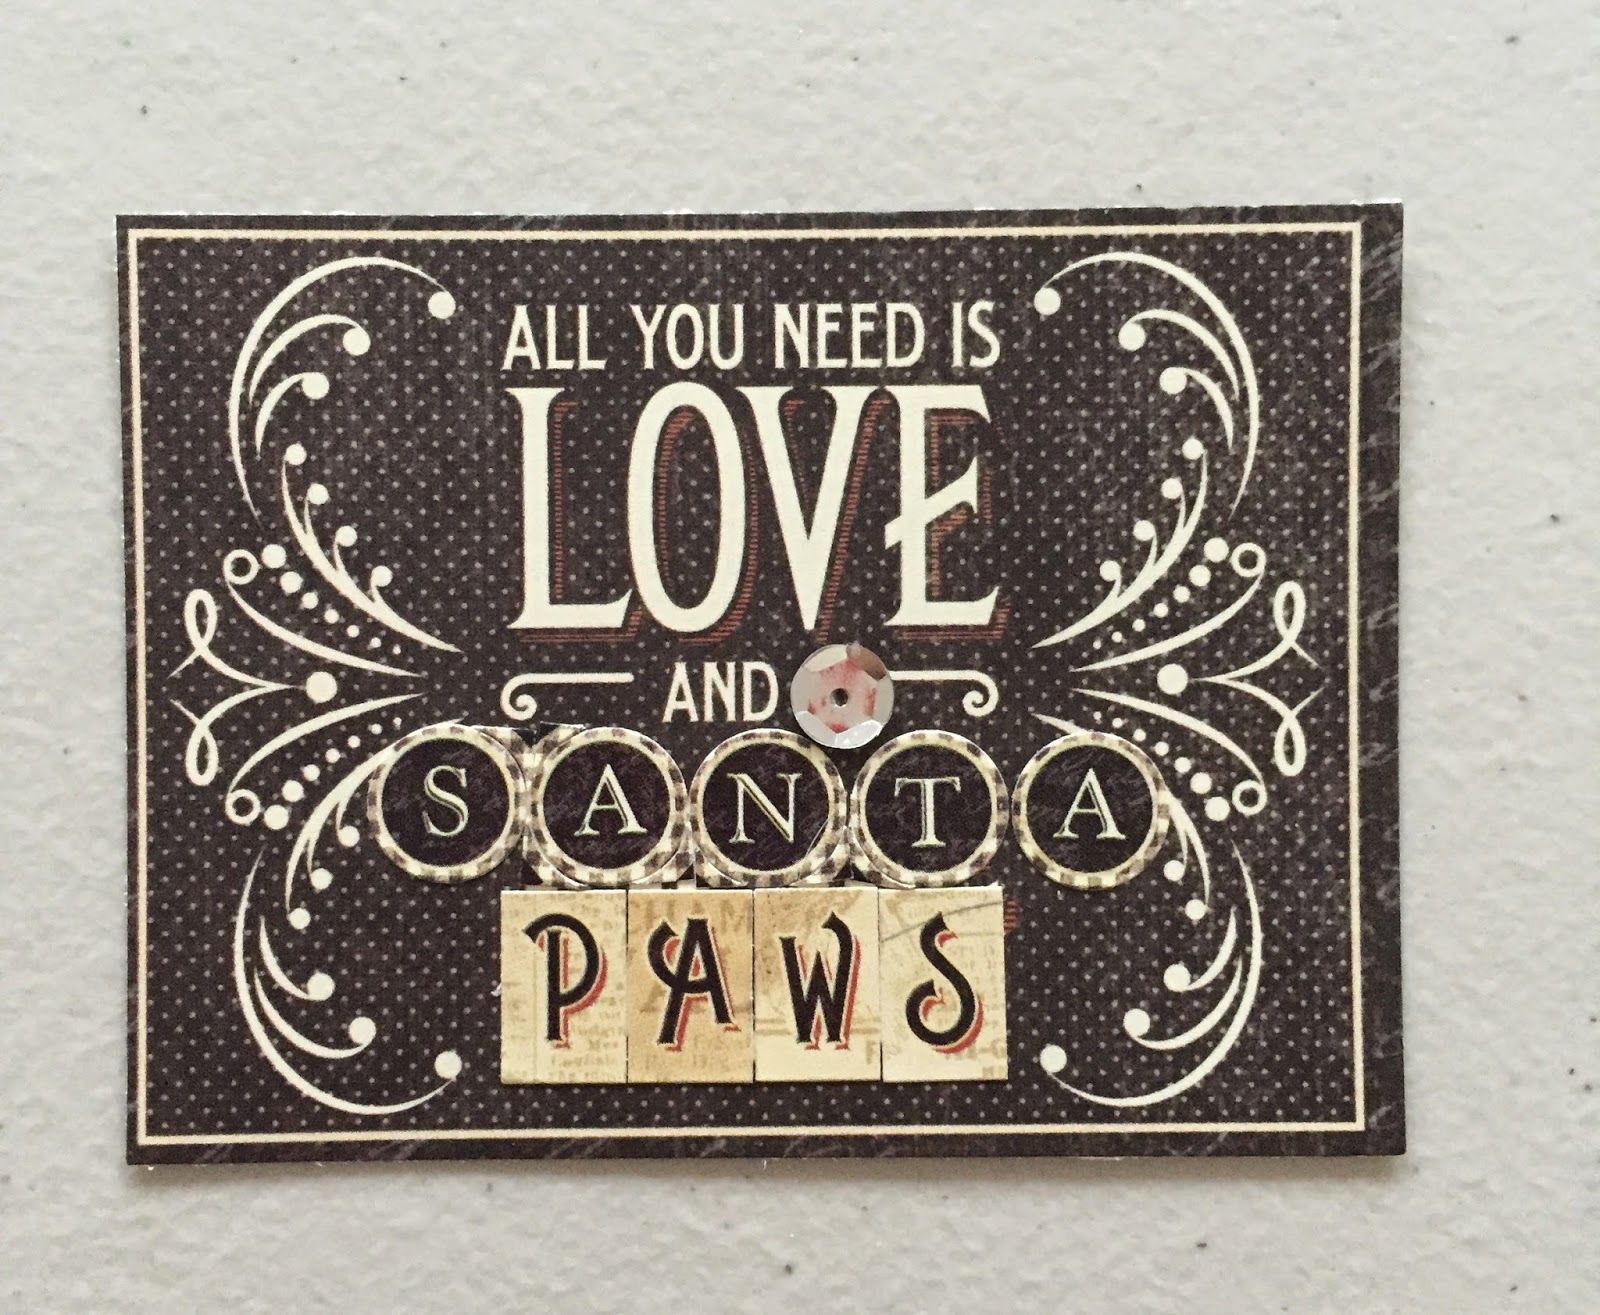
Step 11. Add stickers and sequin to smaller Well Bred image.
Step 11. Attach a 5" x 7" photo with foam dots. Then, arrange all pieces per photo and adhere using a combination of foam dots and glue.
Thank you so much for following my blog this past year! I hope you all have a blessed Christmas and a wonderful New Year's. Be sure to follow along for more inspiration in 2015 as I create Project Life layouts using Graphic 45's Time To Flourish calendar line! It's going to be a BEAUTIFUL year.
Many hugs and love,
Maria (and Archie, too)
 |
| I'm not the only one who's excited for 2015! |