Wednesday, July 31, 2013

Graphic 45 Steampunk Spells Layout

Good Morning!

Over at the Graphic 45 blog, we are featuring layouts made with Bohemian Bazaar and Steampunk Spells. Head over to G45 to check out all of the wonderful layouts that my fellow Design Team members made and to win an amazing prize pack!

Here is my layout. It's another project that I made for Graphic 45's booth at Create-N-Connect last week! I used G45's new Halloween line, Steampunk Spells. I had a hard time finding the right photos for this layout, so I opted for some un-spooky ones. The photos below are from an afternoon trip that my then-boyfriend and I took to Skamania Lodge in Stevenson, Washington.


I changed the name to make it more fitting with the Halloween theme.

This is a funky flower that I made using a combination of Graphic 45's coordinating Flowers and Banners embellishments. 


I added a little Steampunk photo booth feel by fussycutting some of the imagery and using it as "props" on our photos. 


Thanks so much for looking! If you'd love to win some of your own Graphic 45 papers, leave a comment on their blog or Facebook page and you win some Place In Time and French Country goodness!

Tuesday, July 30, 2013

CHA Bohemian Bazaar Card

Happy Tuesday!

So I'm very late in sharing this with you, but this is a card that I made for Graphic 45's booth at Create-N-Connect (formerly Summer CHA)! I used G45's bright and colorful Bohemian Bazaar paper line, chipboard, and tags and pockets.


It's a little card that stands up and has lots of fun embellishing. Quite a few ladies asked how to mail such a card. Honestly, most cards that I've made like this, I've been able to give in person. But for the 1 or 2 I've had to mail, usually a piece of tissue paper inside a bubble mailer will do!


I used a mixture of Petaloo flowers along with some fussy cut flowers from the main Bohemian Bazaar paper design. 


I used a beautiful Spellbinder's die to make my gate below. I found it at one of my favorite stores, The Peddler's Pack. Thank you, Joyce!


The flowery top opens up to reveal a message. I used the matching stickers for this card as well. :)


Thanks so much for looking today! I have another G45 project to share with you tomorrow featuring another one of their mid-year releases. For those of you who went to Vegas, I am so jealous!! I hope to make it to Winter CHA. ;)

Before I leave you, here's a link to a video that Blue Moon Scrapbooking did of the Graphic 45 booth. Keep an eye out for the Mother Goose 12" x 12" easel album by yours truly! ;) (Thank you, Miranda, for sharing it with us!!)

Wednesday, July 10, 2013

Bohemian Bazaar Altered Matchbook Box Class 7/27 (and some news!)

Hello, dear friends!

I wanted to share my next class project with you. This is a shadow box I made using Graphic 45's 8" x 8" altered matchbook box along with Bohemian Bazaar!


So some news ... my husband and I are moving back to Oregon! Crazy, huh? It seems like only yesterday when we first moved up. And just like our last move, this one is happening quickly as well. I'm sad to say that my Bohemian Bazaar class may be my last one at The Mad Scrapper, as life is already getting hectic with trying to plan our move. There are some amazing scrapbooking and stamping stores in Oregon that would be fun to teach at, but for the moment, I'll be putting my teaching hat on hold until life feels more settled.

I am going to miss the wonderful ladies that I've met up here. I am so sorry our time got cut short, but I am blessed to have met you, and know we'll be forever connected!

--------------CLASS INFO----------------

Date:      Saturday, July 27th
Time:     1:00 - 4:00 p.m.
Place:     The Mad Scrapper
               1590 NW Gilman Boulevard

                   Issaquah, WA 98027 (just 15 minutes east of Seattle)
Call:       425-427-8871

Bring: Your basic tool kit, Distress Inks in the following colors: 
Ripe Persimmon (orange), Broken China (turquoise), Peeled Paint (lime green), and Scattered Straw (yellow).

**Can't come but you'd like a kit? Click here to pre-order a kit online. If you don't see the kit yet or if you have questions, feel free to call The Mad Scrapper directly at 425-427-8871. Thank you! Please note, if you pre-order the kit before July 27th, it will ship on Monday, July 29th. 

Wednesday, July 3, 2013

G45 Happy 4th of July Kite Tutorial

Good Morning!

Today is the last day of Graphic 45's special sneak peeks of Mother Goose. I don't know about you, but I plan on stocking up quite a bit on this paper line! It is so heartwarming and nostalgic ... and as a soon-to-be-auntie, I know I'll my fair share of nephew projects to make. ;)

You can win Mother Goose before it hits the stores! Just leave a comment on the Graphic 45 blog or Facebook page and you might be one of four lucky winners! You'll also want to stop by the blog today to check out a very special project by fellow design team member Nichola Battilana, along with my 4th of July kite that I made below!


Opportunity knocks in the land of Lady Liberty!


G45 Happy 4th of July Kite from Maria on Vimeo.

~Supplies~

Graphic 45 Paper:
Place In Time 12” x 12” July Foundation
Place In Time 12” x 12” July Cut Outs
Place In Time 8” x 8” July Foundation
Place In Time 8” x 8” July Cut Outs 

Graphic 45 Embellishments:
8x8 Matchbook Box
Place In Time Alphabet Stickers
Place In Time Stickers
Place In Time Tags 2
Regular Tag Album
Ornate Metal Door Plate and Knob
Ornate Metal Door Pulls
Ornate Metal Keys
Alphabet Sticker Staples 

Additional Products:
4’ gold, 2’ red, 6” blue May Arts ribbon
Core’dinations Triumphant Red
Core’dinations Bon Voyage
Core’dinations Crème Brulee
Petaloo Darjeeling flowers
Embossing folder of your choice
Prima mini roses - white

~Instructions~

Overall note: Ink the edges of all papers that you trimmed and fussy cut with Vintage Photo Distress Ink before adhering.

Step 1: Remove base from your 8x8 Altered Matchbook Box and set aside. Ink all edges of your matchbook box lid with brown ink.


Step 2: Take your red Core’dinations paper and cut (4) pieces that measure 1 3/8” x 8 3/8”, (2) pieces that measure 1 7/8” x 8 3/8”, and (1) 3 7/8” x 2.75”. Take the (4) 1 3/8” x 8 3/8” pieces and adhere to the front of your lid.


Step 3: Take your blue Core’dinations paper and cut a 8.25” x 8.25” square. Adhere to the back of your lid.


Step 4: Locate your 8” x 8” Place In Time July Foundation and cut out a 5 3/8” x 5 3/8” square from the center.


Step 5a: Attach Ornate Metal Door Plate and Knob to July Foundation paper, then adhere to red paper. Step 5b: Adhere Ornate Metal Door Pulls and mini roses to top and bottom corners. Adhere blue Petaloo flower to Door Plate.


Step 6a: Locate your 12” x 12” July Foundation paper. Fussy cut “July” with the flourish and cherries; fussy cut the smaller flourish and cherries. Optional: apply Glossy Accents to cherries. Step 6b: Fussy cut (2) parts of the border. Step 6c: Use your regular tag album to trace a tag shape, then cut out.


Step 7a: Using your leftover July Foundation paper, cut a 5” x 1” strip. Make dovetail cuts on both ends, then fold to create a banner shape. Apply Place In Time stickers. Step 7b: Trim one of your borders to 2 7/8” long and apply Place In Time stickers. Step 7c: Take your 12” x 12” July Cut Outs paper and cut out all images, borders, and tags.


Step 8: Arrange additional Petaloo flowers, “Cheery Greetings” tag, seagull stamp, fussy cut flourishes, and blue border cut into (3) 4” long pieces per photo.


Step 9a: Locate white Core’dinations paper and cut a 8.25” x 8.25” square. Locate 8” x 8” July Cut Outs, flip over to reveal solid colors, and adhere to white paper. Step 9b: Attach Place In Time stickers and blue ribbon to tag with blue border. Step 9c: Arrange all pieces in photo then adhere using foam dots. 


Step 10: Place 8” x 8” July Cut Outs paper inside lid and adhere. Easiest step so far! ;)


Step 11a: Take (1) tag from your regular tag album and trim (2) borders to fit the tag. Take 3 7/8” x 2.75” red paper and emboss. Adhere borders and red paper, then attach image of kids with foam dots. Place 6” of gold ribbon through cherry chipboard button and adhere. Tie red ribbon around binder ring. Step 11b: For reverse side of tag, find remaining blue paper, cut a 3 7/8” x 2.75” piece, and emboss. Trim border to fit and adhere. Attach “liberty” image with foam dots and adhere shell stamp.


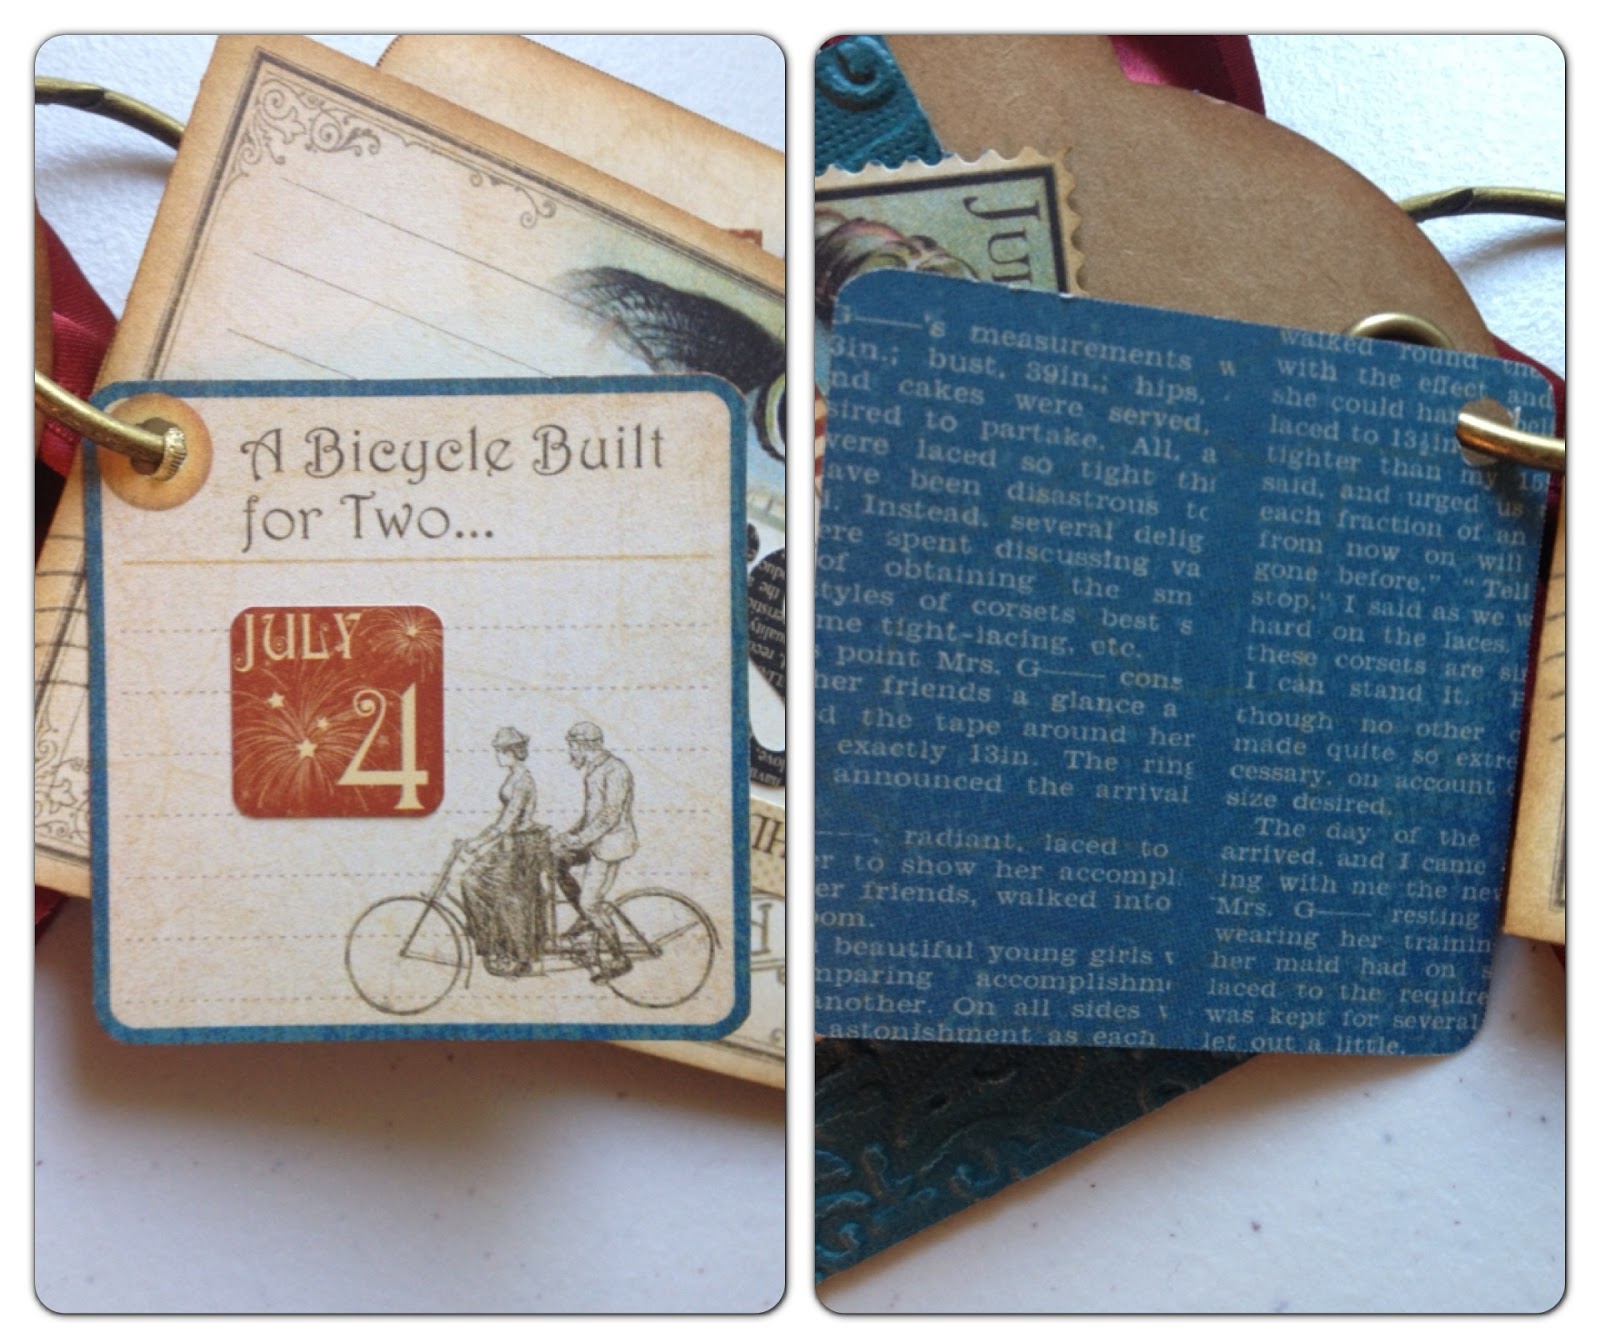
Step 12: Punch hole through “A bicycle built for two” tag. Attach July 4th sticker and insert through binder ring.


Step 13a: Punch hole into top center of postcard. Adhere “Happy Birthday” Place In Time sticker and alphabet letters “USA”. Step 13b: Flip postcard over and adhere border. Attach lady & gentleman image with foam dots and slip “Celebrate” ticket sticker behind.


Step 14a: Locate the tag you traced and adhere “Home Run” tag, turtle stamp, border and “July 4th” sticker. Attach lady image with foam dots. Step 14b: Flip tag over and adhere tag, crab stamp, and “July” border. Attach lady image with foam dots.


Step 15: Tie 12” of gold ribbon to “Souvenir” chipboard tag and 10” of gold ribbon to lady chipboard tag. Tie 2’ of gold ribbon to tag album binder ring.


Step 16: Pierce a hole in the top and bottom corners of your lid. Take gold ribbon with attached pieces from Step 15 and tie through the hole you punched in the bottom corner. Tie a red ribbon between gold ribbon and matchbook box. Use fishing line through top hole so you can hang your kite. 


Thanks for looking and for all of you in the U.S., have a safe and happy 4th of July!!

Monday, July 1, 2013

Graphic 45 Place In Time Layout

Good Morning!

If you haven't already seen Graphic 45's blog yet, head on over so you can be one of the first to see their new CHA release! You will LOVE it -- I sure do and I can't WAIT to get my hands on it!!

In the mean time, I'd like to share a simple pocket scrapbooking layout that I made using Place In Time and A Ladies' Diary. (The sheet covers are from Echo Park.) If you're a newer scrapper or find that this newer trend in scrapping is more your style, this should be a pretty easy layout for you to mimic!


Since I love layouts to have dimension and not feel "flat", I applied some of the embellishments on the outside part of the sheet cover.


So I am in love with Graphic 45's banners. So much so, that I traced their shapes onto my Place In Time and Core'dinations paper as those paper lines don't come with banners. It's a quick little design trick that you can apply to any one of G45's older lines!


Thanks so much for looking! And again, head on over to G45's blog if you haven't already -- you're in for some amazing sneak peeks!

Many hugs,

Maria